 Get Kenney Game Assets All-in-1 to download everything at once, plus free updates!
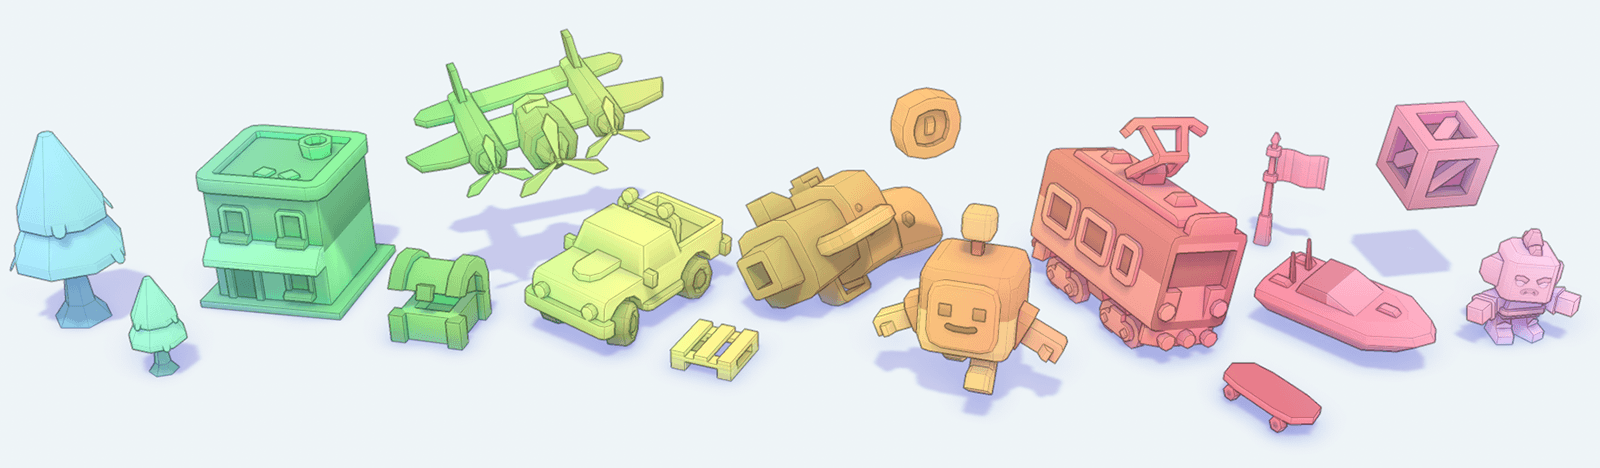
Thousands of completely free game assets for you to use.

Get exclusives
By joining our club you'll support the creation of game assets but also get early access to new creations, goodies, entry to the club channel and more!
Get started quickly
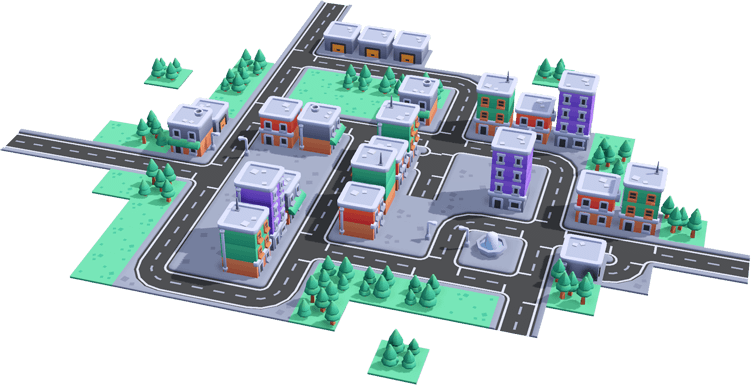
Learning game development can be a daunting task. We've created free and open source Starter Kits covering various game genres that'll help you kickstarter your next game!
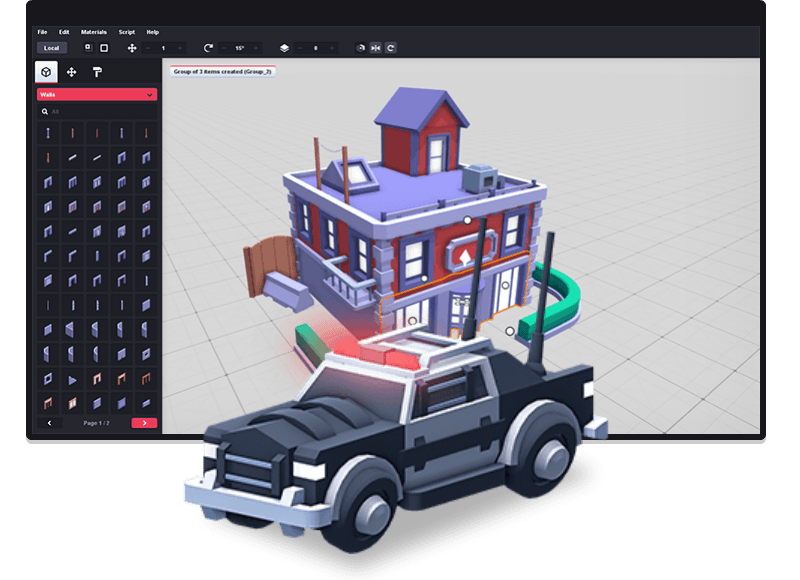
Let's create together
With our tools, you don't need any knowledge of complex software or frameworks to create 3D models. At a very affordable price, you can get instant results that can be used in most game engines.